This Page is full of Ideas fans can try at home!
Cakes!
Cakes are always a good way of expressing your enthusiasm for this series. They are fun to make, nice to look at, and great to eat. Why not bake a surprise cake for your child's birthday? Or let them help out an make it (if they're old enough!).
Making one of these cakes requires:
A circular sponge, chocolate or any type of cake you like
Some ready to roll icing
Food colouring
A mixing bowl
A wooden spoon
And Patience!
Simply roll out the icing, following the instructions.
Add green food colouring to a medium, fist shaped lump of icing and roll it about 1/2- 1 cm thick. This should fit nicely over your cake. If you cake is bigger or smaller, you will have to make adjustments.
Lie this icing over the cake, allowing folds to appear. you can smooth these down later.
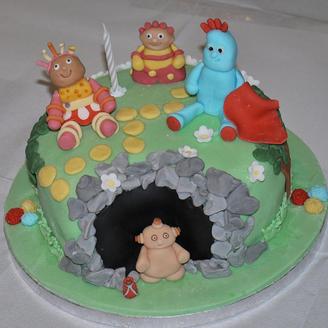
Make black, grey, yellow, white and dark green icing and roll it out. Make bushes, the pathway and Makka Pakka's cave out of these.
Then, make red, light blue, pink, yellow, orange and skin tone coloured icing to shape into figures. This requires a little, time, and you should let the figures harden a little before positionaning them on the cake.
Use a little icing to 'stick the figures', pathways, bushes, flowers etc to the cake.
And Voila! you are done! Put in a candle, light it and sing Happy Birthday!
Making one of these cakes requires:
A circular sponge, chocolate or any type of cake you like
Some ready to roll icing
Food colouring
A mixing bowl
A wooden spoon
And Patience!
Simply roll out the icing, following the instructions.
Add green food colouring to a medium, fist shaped lump of icing and roll it about 1/2- 1 cm thick. This should fit nicely over your cake. If you cake is bigger or smaller, you will have to make adjustments.
Lie this icing over the cake, allowing folds to appear. you can smooth these down later.
Make black, grey, yellow, white and dark green icing and roll it out. Make bushes, the pathway and Makka Pakka's cave out of these.
Then, make red, light blue, pink, yellow, orange and skin tone coloured icing to shape into figures. This requires a little, time, and you should let the figures harden a little before positionaning them on the cake.
Use a little icing to 'stick the figures', pathways, bushes, flowers etc to the cake.
And Voila! you are done! Put in a candle, light it and sing Happy Birthday!
Some More Ideas:
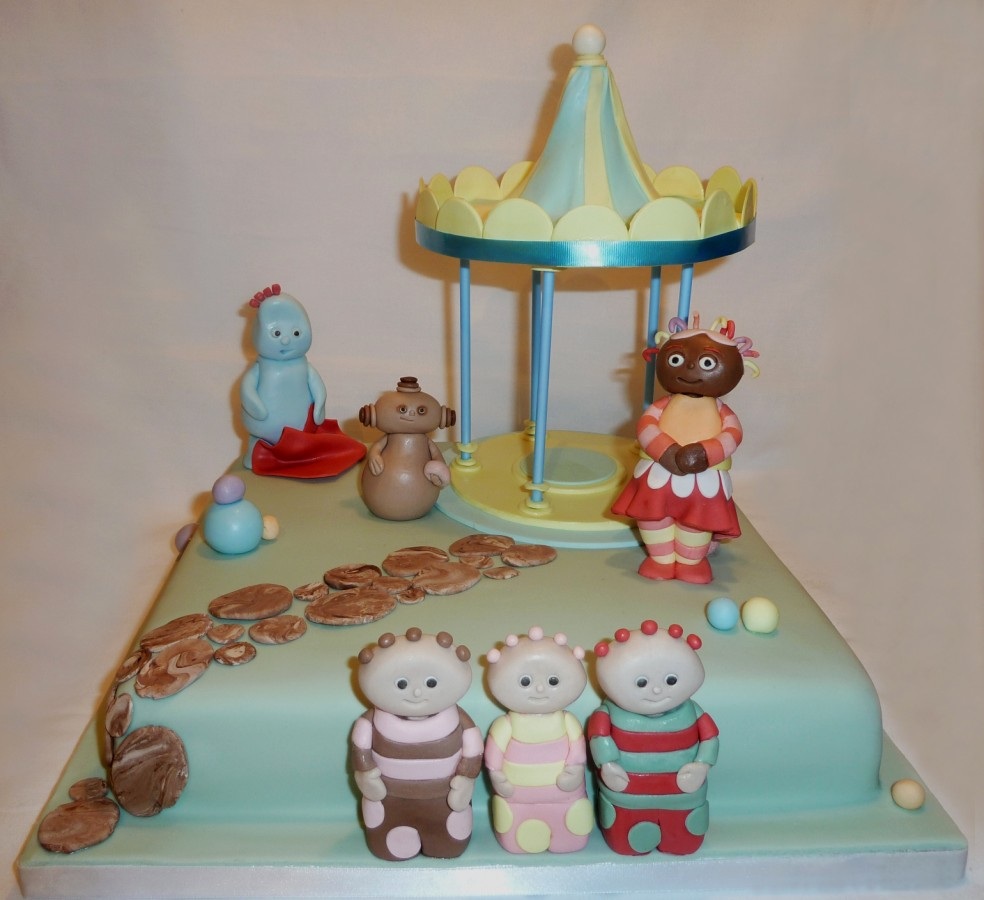
You could also add the gazebo, although this may take skill!
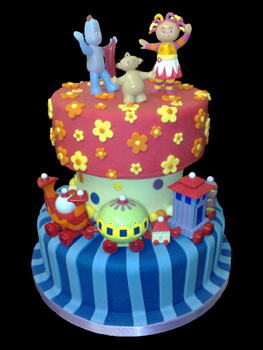
Or have plastic figures on a bright pattern of icing!
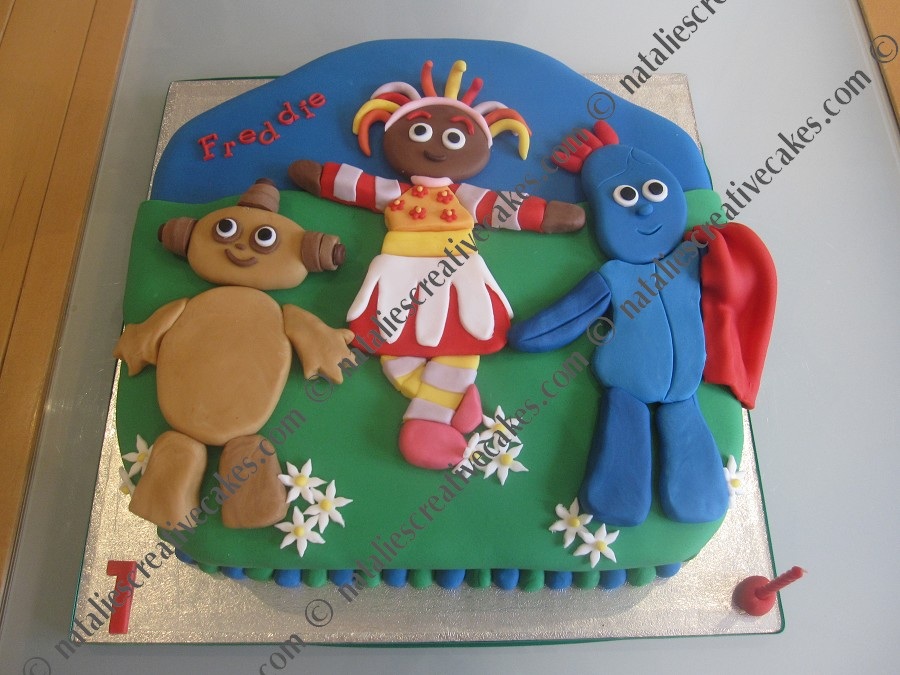
Keep it simple with 2D
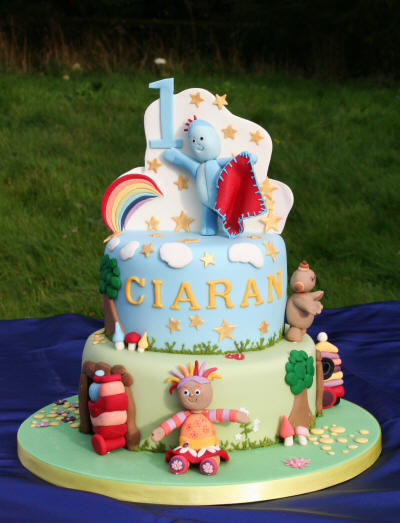
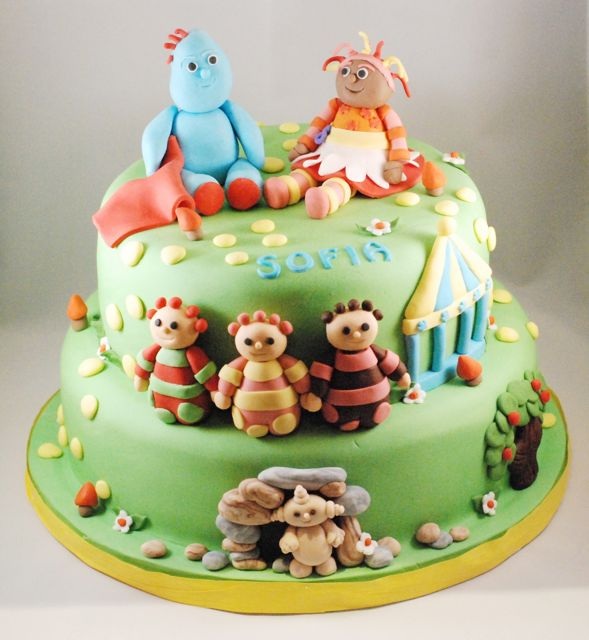
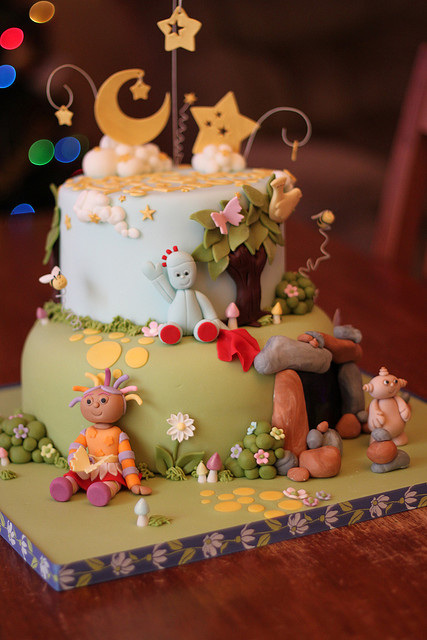
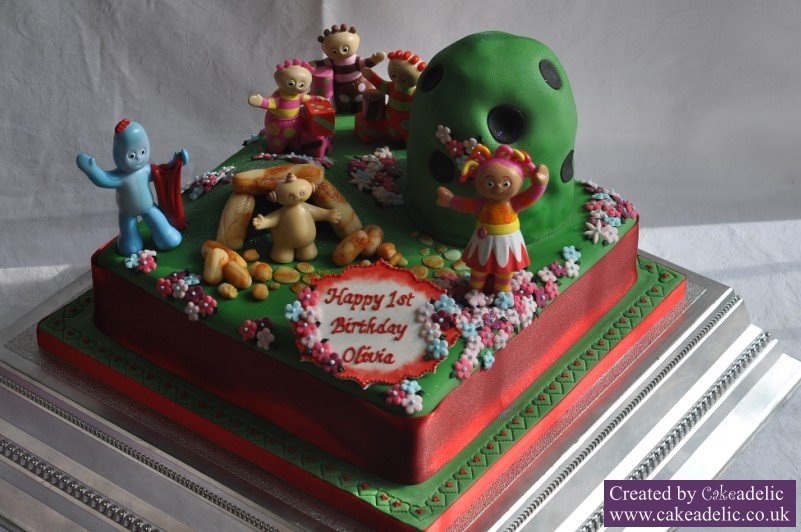
Or go Uber-Complex like the ones above!
It's all yours!
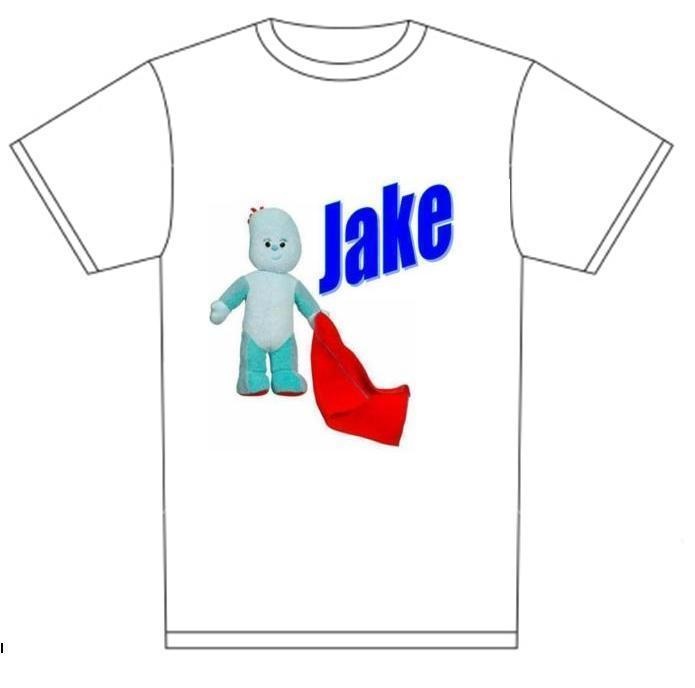
In the Night garden Pyjamas
Have you ever wanted to personalise your very own Pyjamas or have you ever wanted to give a personal touch to a gift. Well now you can!
What you need:
A plain white cotton t-shirt
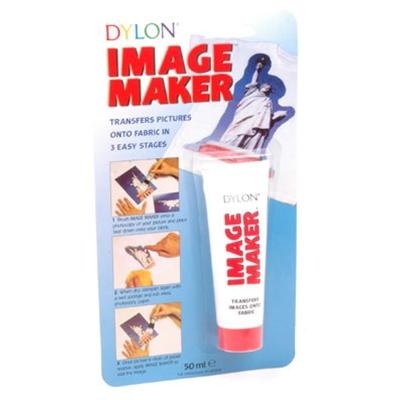
A tube of Dylon Image Maker, available from amazon.com
A Hand drawn picture of your favourite character, or an image/ photo
A Paintbrush
Instructions:
Simply take a photocopy of your picture, spread some Image Maker onto it not too thickly with a brush.
Then place the image pasted side down on the fabric, make sure it is firmly pressed on, and let it dry overnight.
Then all you need to do is wet the paper with a sponge.
Then rub off the paper with the sponge and some kitchen towel.
Apply a sealing coat of image maker to finish and you'll have something totally unique.
Wash inside out.
Refer to image maker instructions for further guidance
What you need:
A plain white cotton t-shirt
A tube of Dylon Image Maker, available from amazon.com
A Hand drawn picture of your favourite character, or an image/ photo
A Paintbrush
Instructions:
Simply take a photocopy of your picture, spread some Image Maker onto it not too thickly with a brush.
Then place the image pasted side down on the fabric, make sure it is firmly pressed on, and let it dry overnight.
Then all you need to do is wet the paper with a sponge.
Then rub off the paper with the sponge and some kitchen towel.
Apply a sealing coat of image maker to finish and you'll have something totally unique.
Wash inside out.
Refer to image maker instructions for further guidance
An Example T-Shirt!